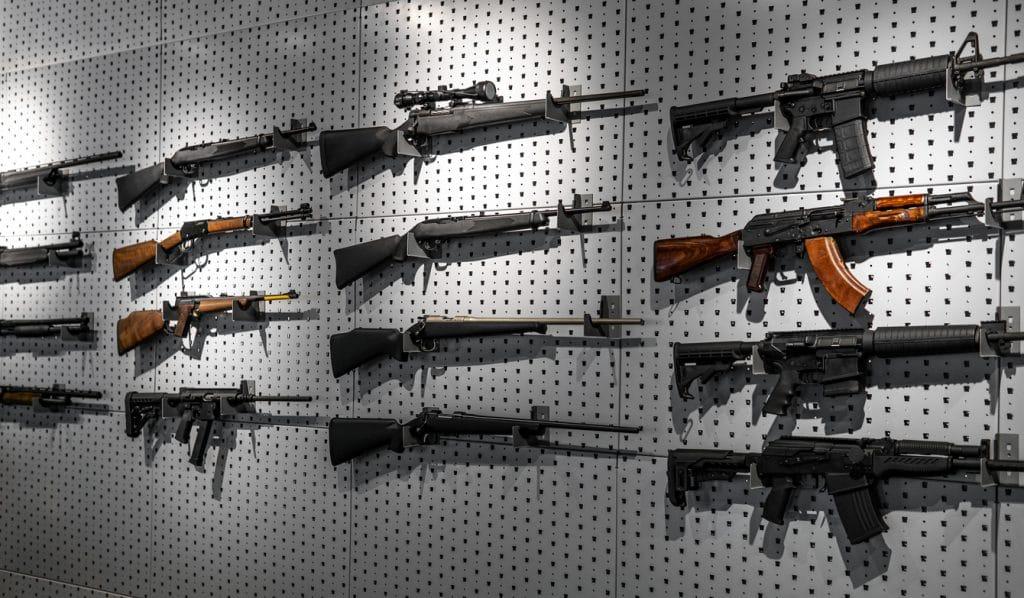
3 Things to Do Before You Take That Used AR Home
Written By
Michael Crites
Licensed Concealed Carry Holder
Reviewed by
Editorial Team
Learn About The Editorial Team
Share:
Products are selected by our editors. We may earn a commission on purchases from a link. How we select gear.
Updated
Jan 2023
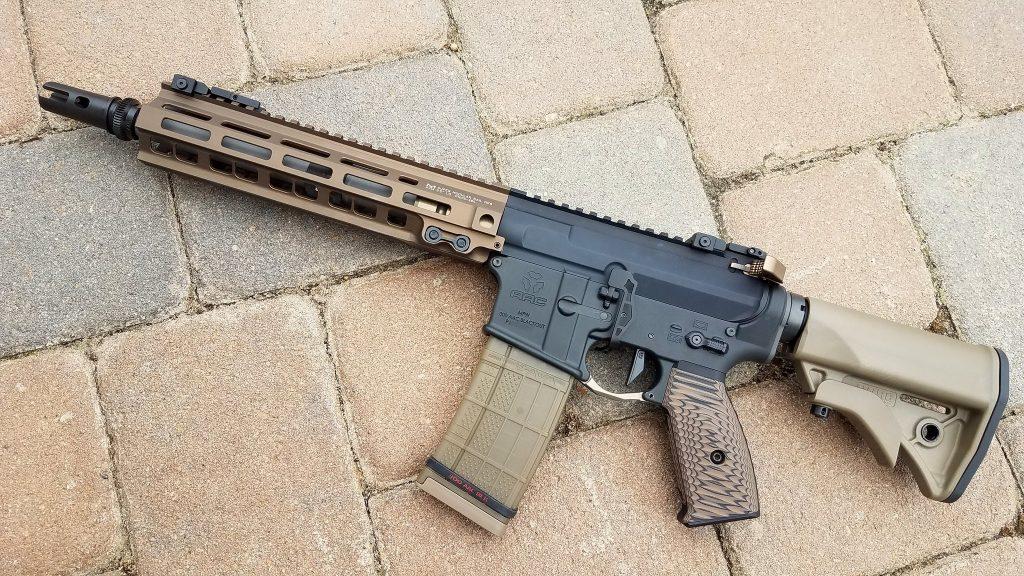
Unless you assembled your upper and lower and plan to build your rifle from the ground up, chances are you purchased (or plan to purchase) a complete rifle, and with millions of used ARs on the market, it’s certainly reasonable to pick up a used rifle to save a few bucks. But how do you know that that new-to-you black rifle won’t fill your range sessions with woe?
Basic inspection and a little testing.
Here’s a rundown of the steps you can take to ensure your new AR is up to snuff.
Whether you’ve got your rifle home or have been ogling a new piece for your collection for weeks, the process looks the same:
- Visual inspection: disassemble the rifle and look at the components to ensure they’re where they should be.
- Mechanical check: manipulate the receivers, action, and controls to feel out the fit and finish.
- Range testing: Put some rounds through the thing and see what comes of it.
Provided you have a solid relationship with the LGS in your area, the visual and mechanical bits shouldn’t be a problem, but some gun shops might look at you sideways. Watching you disassemble a rifle while fielding customer questions, phone calls, running applications, processing payments, and gathering fingerprints can irritate the most patient shop owner. In those cases, don’t be surprised if you can’t get everything done at the counter.
Also, gun shows are a tough place to get everything inspected due to requirements around locking down actions with things like zip ties. You can still get a visual and a business card from the FFL, but don’t expect a callback if things go totally sideways.
These tips are less critical for those buying a new rifle, as you can lean on a manufacturer warranty should anything go awry, but it can’t hurt to at a minium rin through the first two. Besides, taking down a rifle is fun!
Use Your Eyes
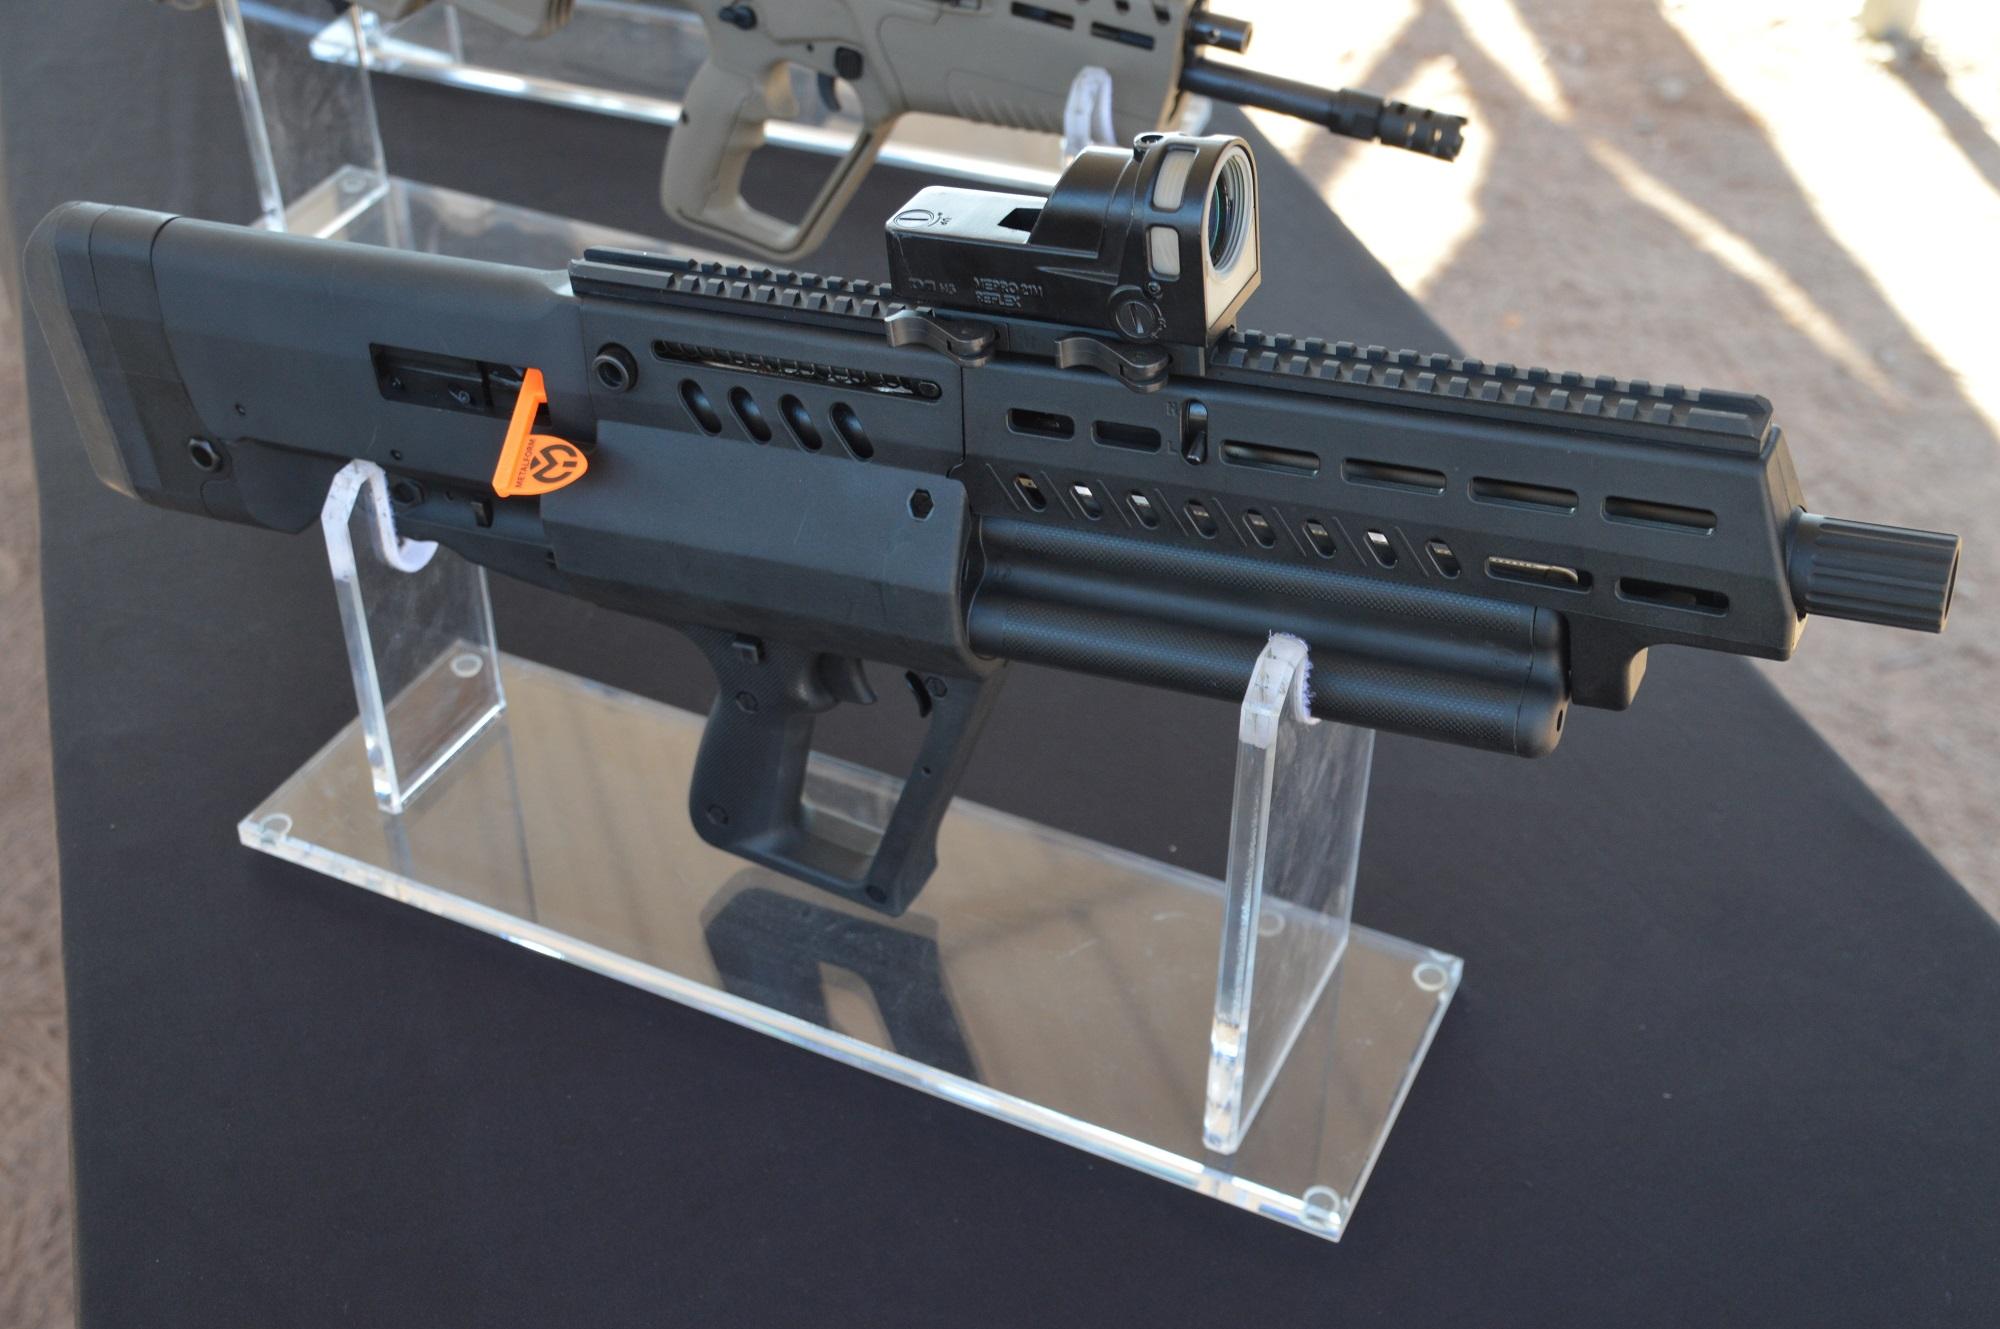
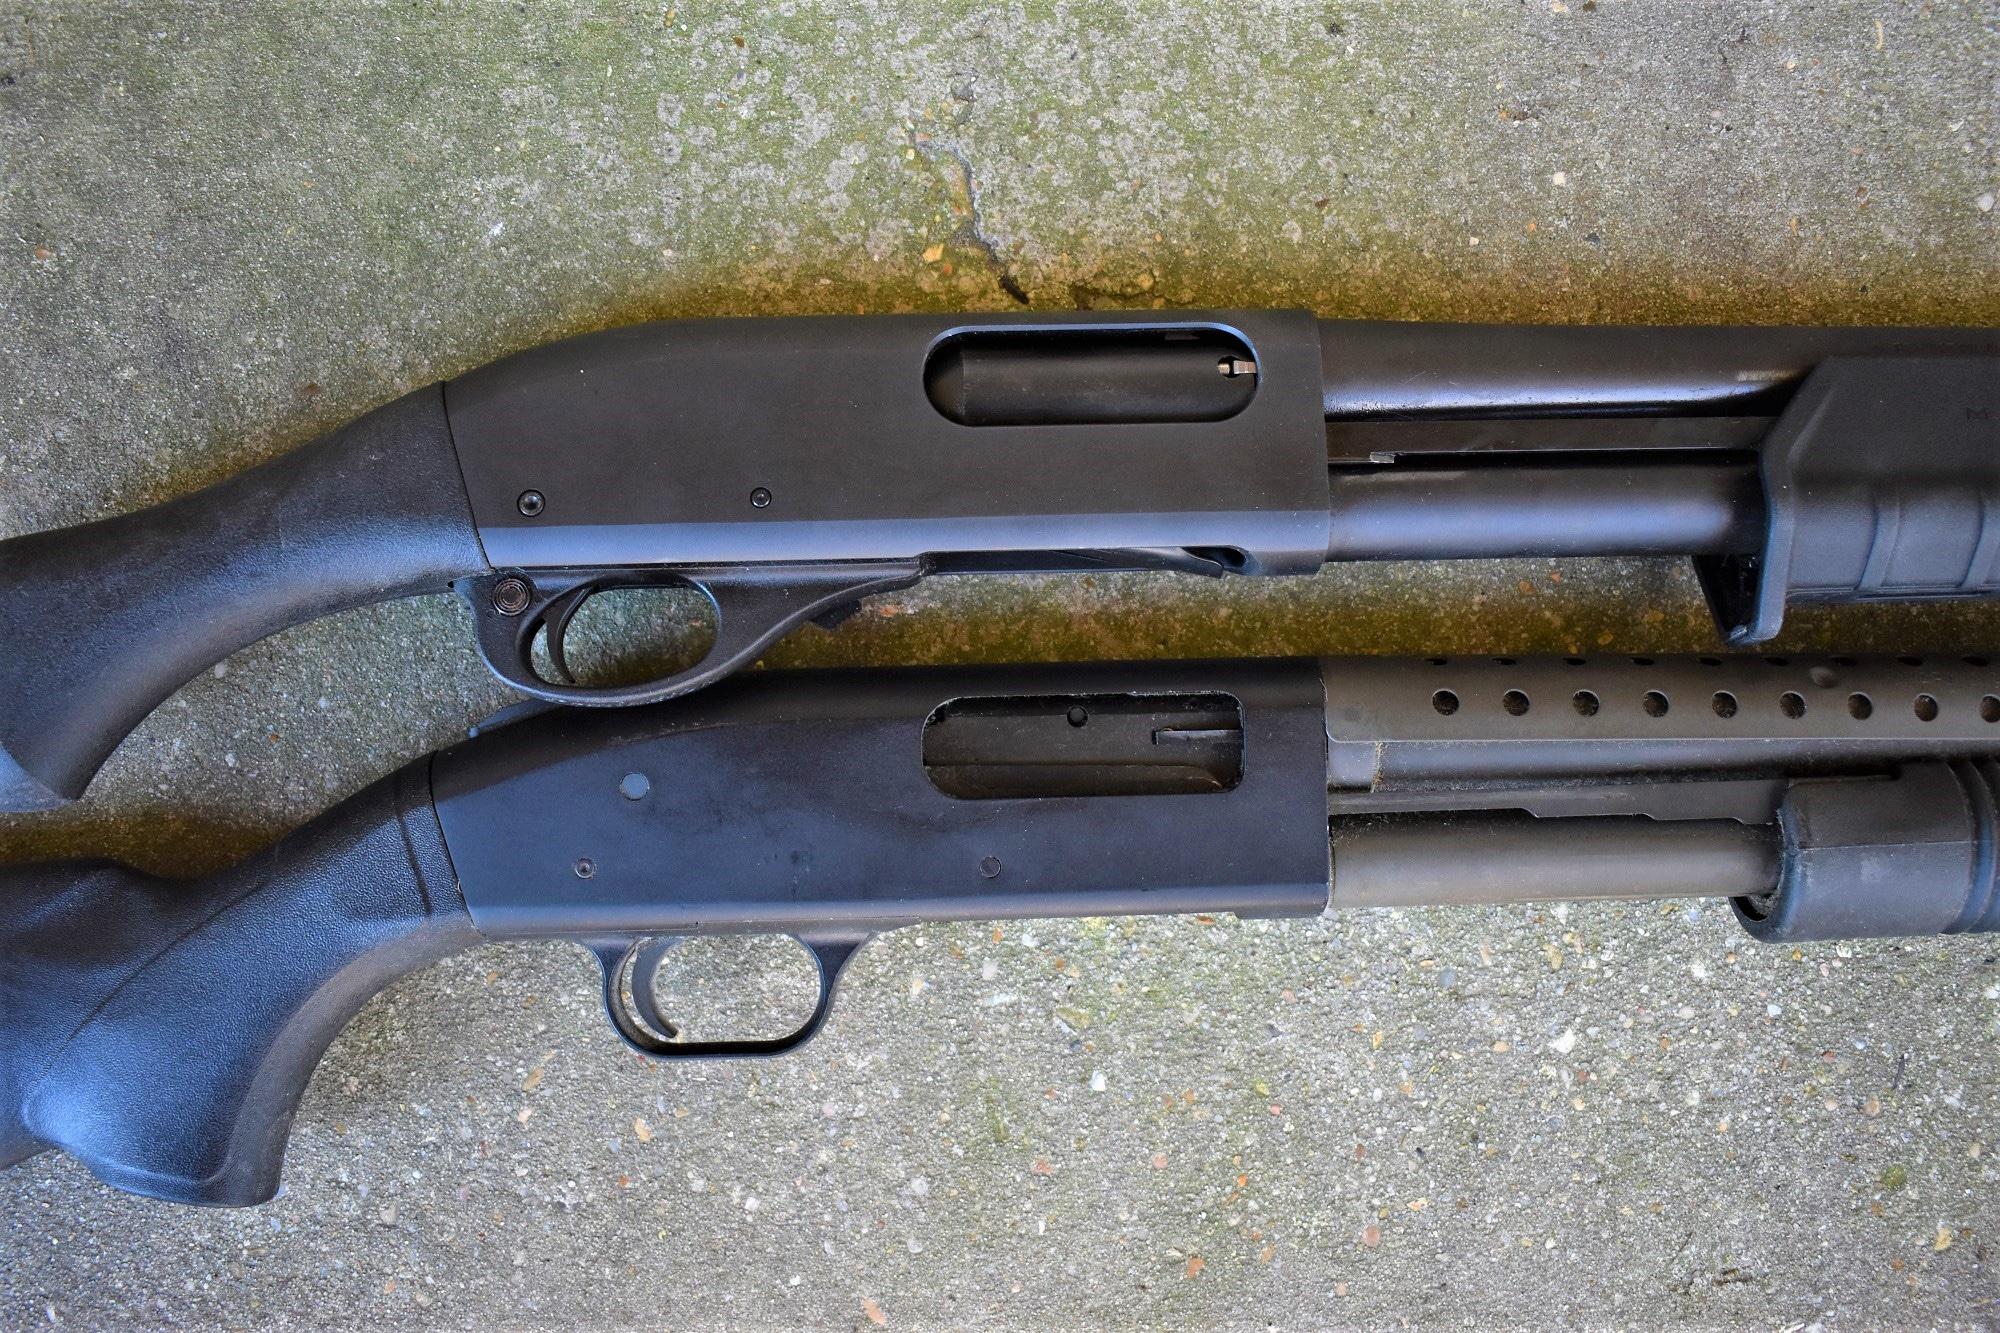
A visual inspection is really the least you should do with any gun purchase, but it’s more challenging with an AR than a handgun because of the number of components.
But what should you look for? The big obvious things — dings, scratches, dents, and the like that tell you you’re looking at a rifle that has seen hard use and little care.
Do the uppers and lowers have a common paint color and finish, or were they clearly assembled from two separate builds? Worn receiver high spots aren’t an indication of abuse, just lots of use. Providing the upper and lower aren’t rattling around, these wear spots won’t mean much in the long run.
Mismatches and dings aren’t killers one way or the other, but they give you a general sense of use and may prompt you to dig deeper.
Use Your Hands
Pull open the action and verify the rifle is clear and unloaded. Close the bolt and dust cover. Do they pop into place with an affirmative click?
Place lateral pressure on the upper to the lower to see if they wobble. Some wobble is fine (many ARs have slight give between the receivers) unless it’s more than you’re comfortable with.
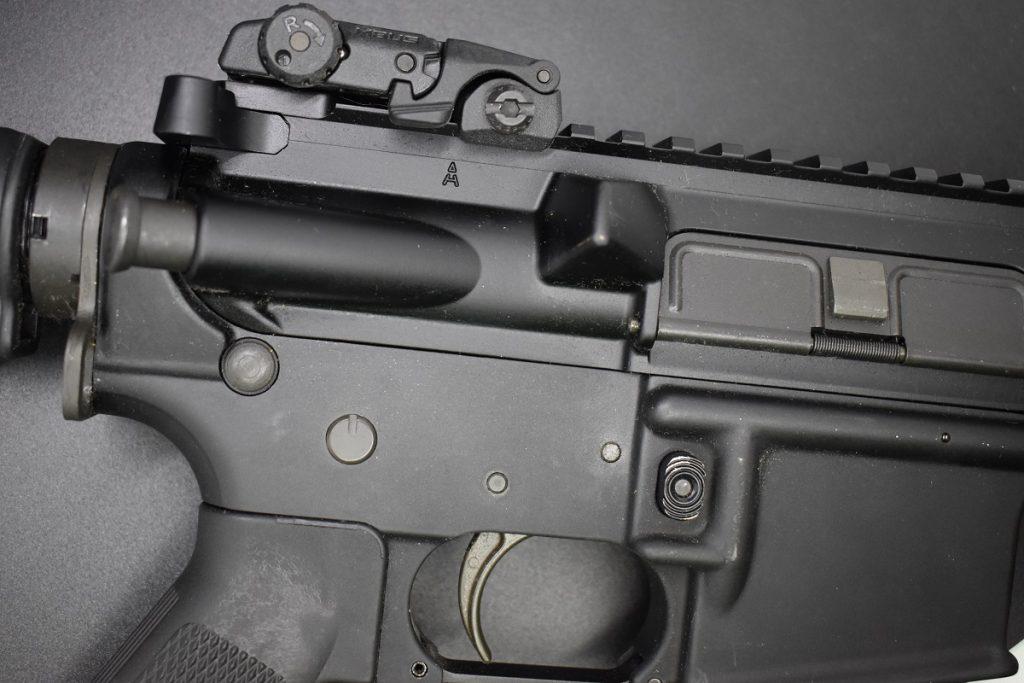
Is there a front sight block (FSB)? Look down the top of the rifle and check the orientation of the A-pillar. Anything less than a 90-degree angle from the barrel is a pass. Is the front sight post level?

Are the handguards even with tightly aligned seams? Off-center handguards may indicate that the barrel nut is misaligned, of which oddball handguards may be the least of your concerns.
Does the stock wobble move around? Does the buffer tube protrude directly from the upper, or is it misaligned? Does the stock slide smoothly up and down the buffer tube? Remove the stock and inspect the buffer tube for any unusual indications of abuse or wear.
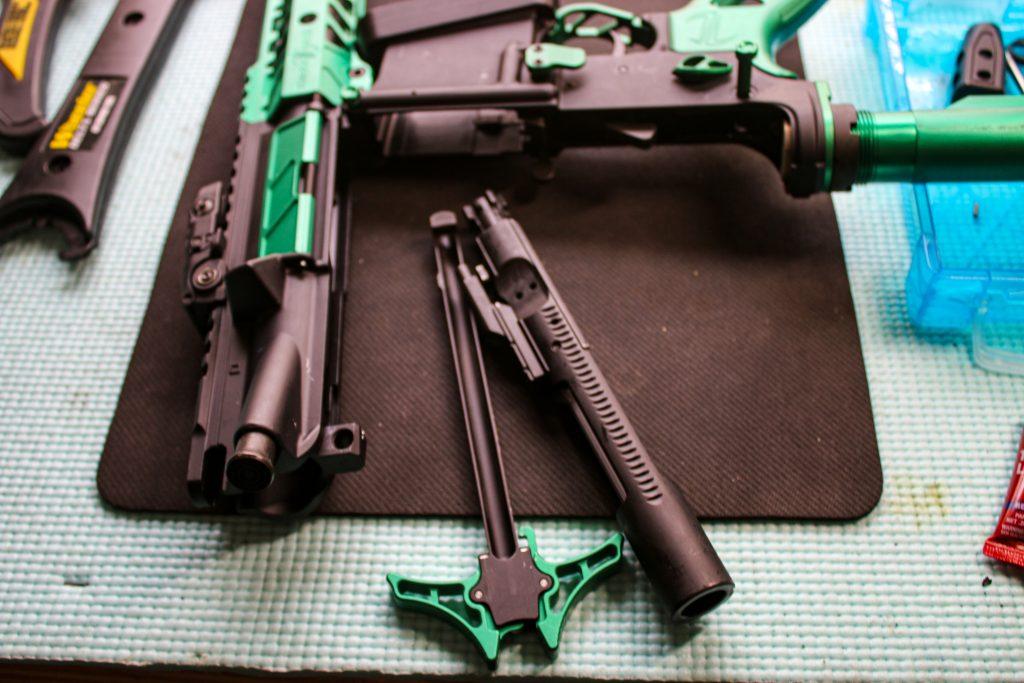
Remove the rear takedown pin so you can open the rear of the rifle, then remove the bolt, carrier, and charging handle. Feel free to pop the other pin and split the rifle into two at this point.
Look down the bore. While you won’t be able to inspect the rifling and bore condition unless you’re packing a bore scope, you should see that the bore is at least not in some strange condition of disarray or damage. Shine a light from your phone down it and do a little spelunking.
Inspect the upper’s interior for obvious signs of clumsy tool use — clear strike marks or random lines let you know whoever was working on the rifle was less than careful.
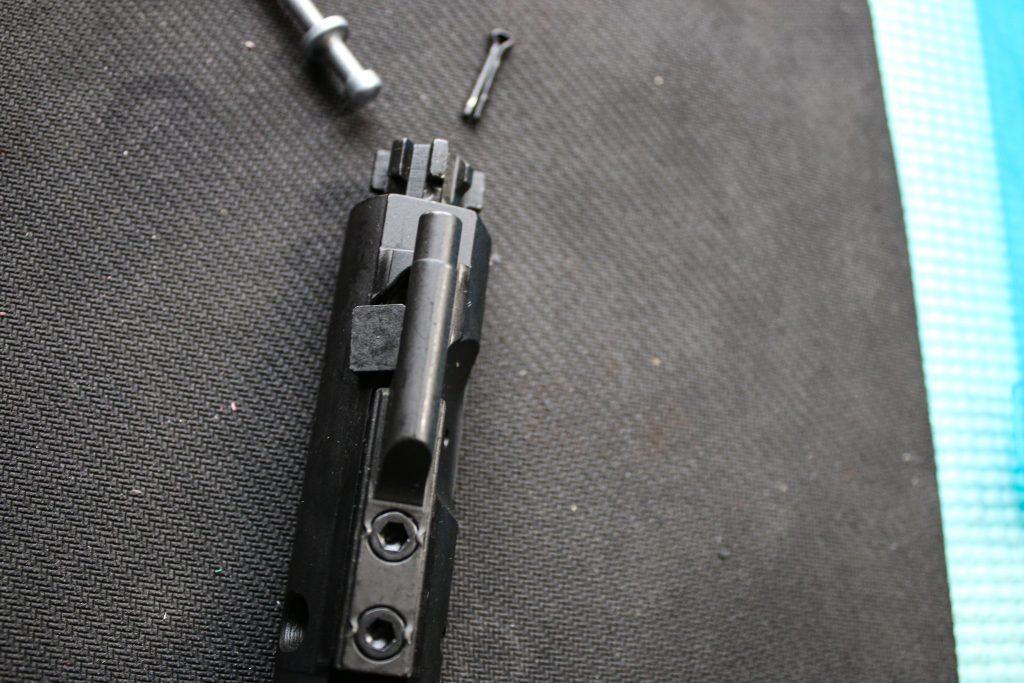
Assess the bolt and bolt carrier. Are there nicks or dents in the bolt lugs? Inspect the bolt face and gas key for unusual wear. The gas key’s retaining screws should be staked in place, with metal peened over the holes to keep them from backing out.
Chips, cracks, or missing pieces are a firm pass as you’re likely dealing with replacing the bolt and carrier plus potential gassing issues which are causing the rifle to run way rough.
Inspect the fire control group (FCG) inside of the lower. Specifically, ensure the hammer spring crossbar is tight against the back of the hammer and its struts are parallel with the hammer itself.
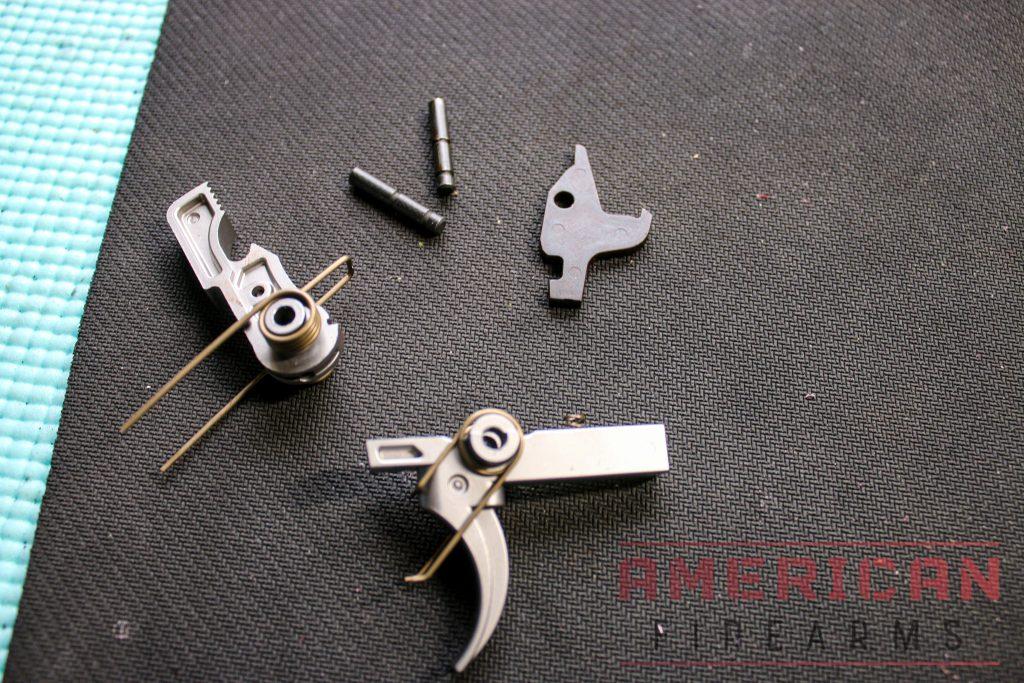
The hammer spring legs should be outside the trigger spring hoop on top of the trigger pin. Within the buffer assembly, the buffer retainer should fully protrude and block the buffer with its full length — not just the tip. Check that the buffer and spring are appropriate for the rifle (rifle and carbine buffers aren’t interchangeable, so it would be obvious if it was mismatched, but also review the buffer spring, which will be longer for rifle buffers than carbines.)
Verify the pistol grip is right and the screws aren’t stripped. If the grip is loose/wobbly and stock assembly is less than plumb, you’ll have a project on your hands. Pass or haggle.
For the first function check insert an empty magazine — does it slide without any friction? Does the bolt hold-open snap into the magazine recess the way you’d expect? Does the magazine fall straight out under its own weight when you depress the mag release? Is the mag release screw flush with the surface of the button? It shouldn’t be recessed or backing out such that you can feel it with your finger.
Insert an empty magazine and pull the charging handle back. Does the bolt lock open? Remove the magazine — doe the bolt stay open? Good.
Move the fire selector between Safe and Fire and back. Does it require appropriate force or just slide around? Does it pop into each position? If ambi, verify both levers work as you’d expect.
With the selector on Safe, pull the trigger, let go, and then push the selector to Fire. If the hammer falls hand the rifle back and walk.
Press the trigger and listen for the hammer fall. Keep holding the trigger, and open and close the action. Once the bolt closes, release the trigger forward slowly.
You should hear a soft click as the disconnector disengages and the trigger safely picks up the hammer.
If you hear the hammer fall onto the firing pin with a clunk you’ll need a gunsmith as your prospective new rifle has disconnector issue.
Use Some Ammo
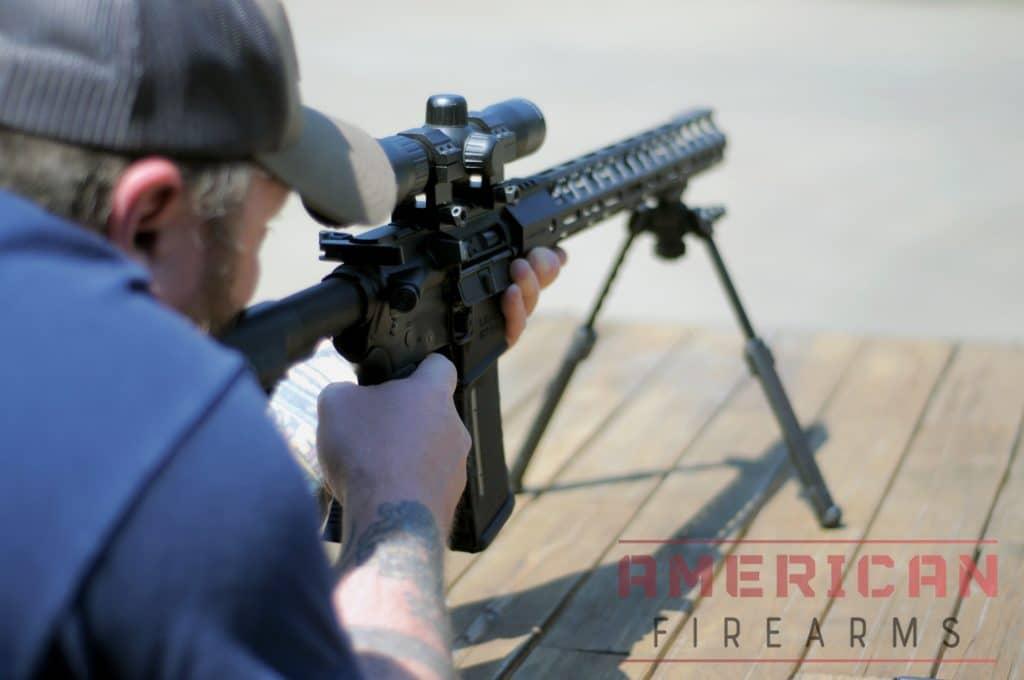
Now for the fun part (and one that you’ll be hard-pressed to pull off at the gun shop) — the test fire.
With a 30-round magazine and twice that capacity on hand, load the magazine with five rounds and slowly shoot a group at 25 yards.
Is the group largely centered left-to-right around an inch or so under your point of aim or are your shots all over the map?
Check where your brass landed. Were they ejected in a consistent manner or all over kingdom come? We’re not looking for all your brass to land within a few inches of one another, but a simple, consistent trajectory is what you want, preferably between three and five o’clock if the firing angle is 12 o’clock.
Under 3 o’clock and you’re likely looking at an over-gassed gun; much more than 5 o’clock and you may have some short stroking going on. Both of these can be addressed with a different buffer or an adjustable gas block (provided you’re not buying a rifle with a welded suppressor.)
Verify the bolt is locked open with your last round. If the LRHO failed, verify the issue with a known magazine, as this is a troubling issue.
Load a full 30-round magazine into the rifle, pull the charging handle, and let the buffer spring return and close the bolt. Did the bolt strip the top round from the magazine and chamber it?
If not, either the action spring is worn, the extractor pension is too high, or you simply have a rifle is going to need to be broken in with a few 100 rounds.
Fire one final five-round group with the full mag in place to verify the rifle’s action doesn’t cycle too aggressively and prevent the magazine from pushing a new round into the action successfully when full loaded.
Thumbs up?

Congrats! You have successfully tortured both your prospective AR and gun shop owner into submission. If the inspection doesn’t raise any issues and the shop owner still wants to take your money, all that’s left is to land on a price.
Sign up for our newsletter
Get discounts from top brands and our latest reviews!